Radagast sets out to investigate the ruins of Dol Guldur, hoping to find the source of the dark magic that has set the creatures loose that attacked his homestead.
Playthrough: 1v1
Played on: Monday 20 August 2025
Scenario: Fall of the Necromancer (2021) #9 (out of 13)
Ruleset / profiles: 7th edition (2024 War of the Rohirrim Edition)
Participants
| Good (1 model) | Evil (1 model) |
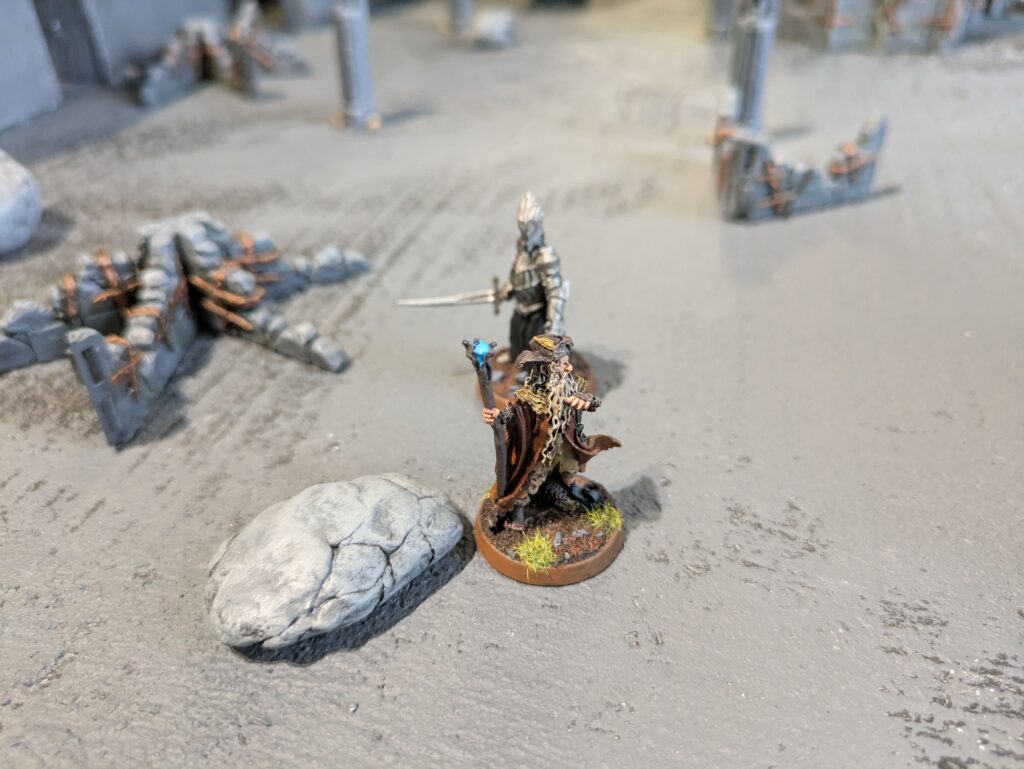
| Radagast the Brown (with Sebastian) | The Witch-king of Angmar (Nazgûl of Dol Guldur version) |
Objectives
The game lasts until one side has completed their objective.
The Good side wins if Radagast can find the evidence and then escape the board via the entrance to Dol Guldur.
The Evil side wins if Radagast is slain.
Special rules
Investigating Statues – If Radagast ends his movement in base contact with a statue, he may investigate it. Roll a D6 – on a 1-5 it is just a statue and nothing happens. On a 6, Radagast locates the evidence he needs – this is a Light Object. Each statue can only be investigated once.
The Witch-king – At the start of the game, the Evil player secretly rolls a D6 and notes the result down, making sure the Good player cannot see it. This is the statue the Witch-king is hidden within. If Radagast attempts to investigate the statue that the Witch-king is in, the Evil player immediately places the Witch-king in base contact with Radagast. From this point on, Radagast no longer needs to locate the evidence (the ghostly creature in front of him is proof enough!). Instead, if Radagast slays the Witch-king, he immediately gains possession of the evidence.
If Radagast uncovers the evidence before the Witch-king is revealed, the Evil player may place the Witch-king anywhere on the board within 3″ of the statue he was hiding inside, but at least 1″ away from Radagast. The Witch-king may then move as normal.
The Witch-king does not benefit from his Unholy Resurrection special rule. Instead, if the Witch-king is slain, the Evil player may immediately place the Witch-king in base contact with any statue and at least 1″ from Radagast. Any Might or Will previously spent remains spent.
The Will of the Necromancer – Radagast suffers a -1 penalty when making a Casting roll. Additionally, the Witch-king of Angmar gains the Resistant to Magic special rule.
Campaign bonus (Evil) – The Evil player rolls 2 D6 and chooses one for determining in which statue the Witch-king is hiding in.
Pre-game tactics and thoughts
It seems that there is nothing Evil can do until Radagast either finds the evidence or he investigates the statue the Witch-king is hiding in. Therefore Radagast could use the time to cast every Exhaustion Spell for free with his Staff of Power and I decided it’s best to start with investigating the closest statues. That way, if successful, I’ll be closer to the southern board edge I need to leave.
Compared to the edition this scenario was released, Radagast’s casting is worse (higher casting values) and the Witch-king has gotten a higher Fight value, 1 more than Radagast (previously they were tied). On the other hand, Radagast has gotten an extra Attack, which is useful. Therefore I don’t think this will impact the game too much, but we’ll see.
The game
The game is played on a 2’x2′ board, representing the old fortress of Dol Guldur. The Good player deploys Radagast in base contact with the entrance to Dol Guldur in the south. The Evil player does not deploy the Witch-king initially. The Good player automatically has Priority each turn until the Witch-king is revealed.
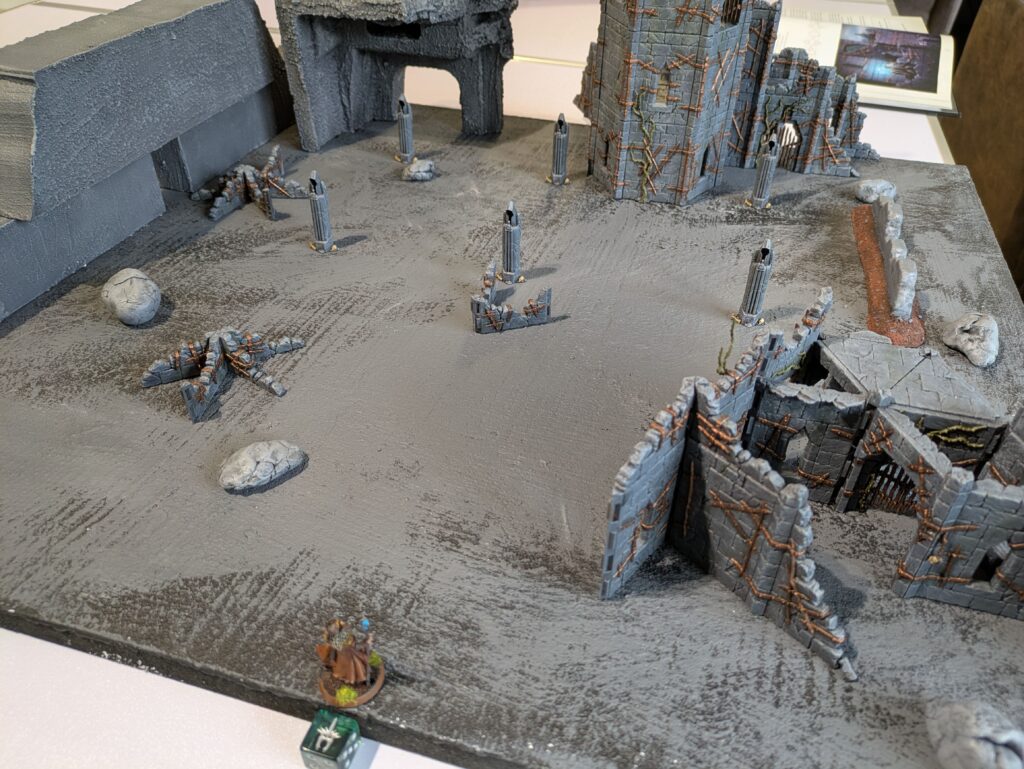
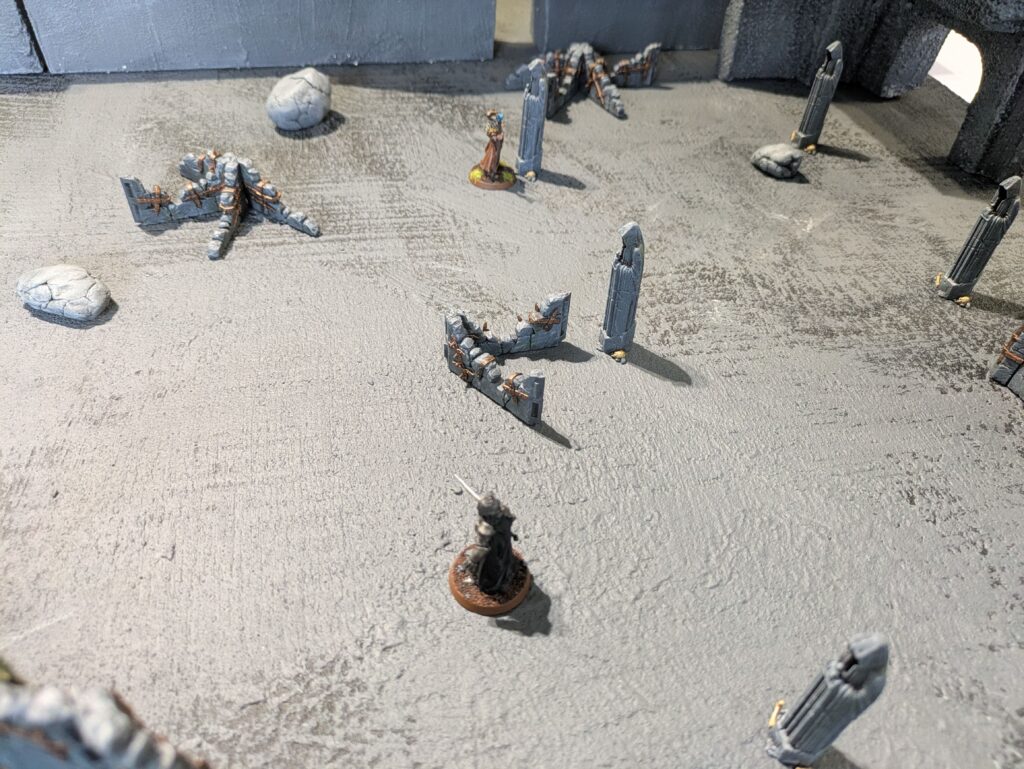
In the first couple of turns, Radagast uses his free Will to cast both his Exhaustion spells: Terrifying Aura and Aura of Dismay. He then decides to start with statue #1, the leftmost statue closest to the entrance. I will start the turn numbering sequence from here:
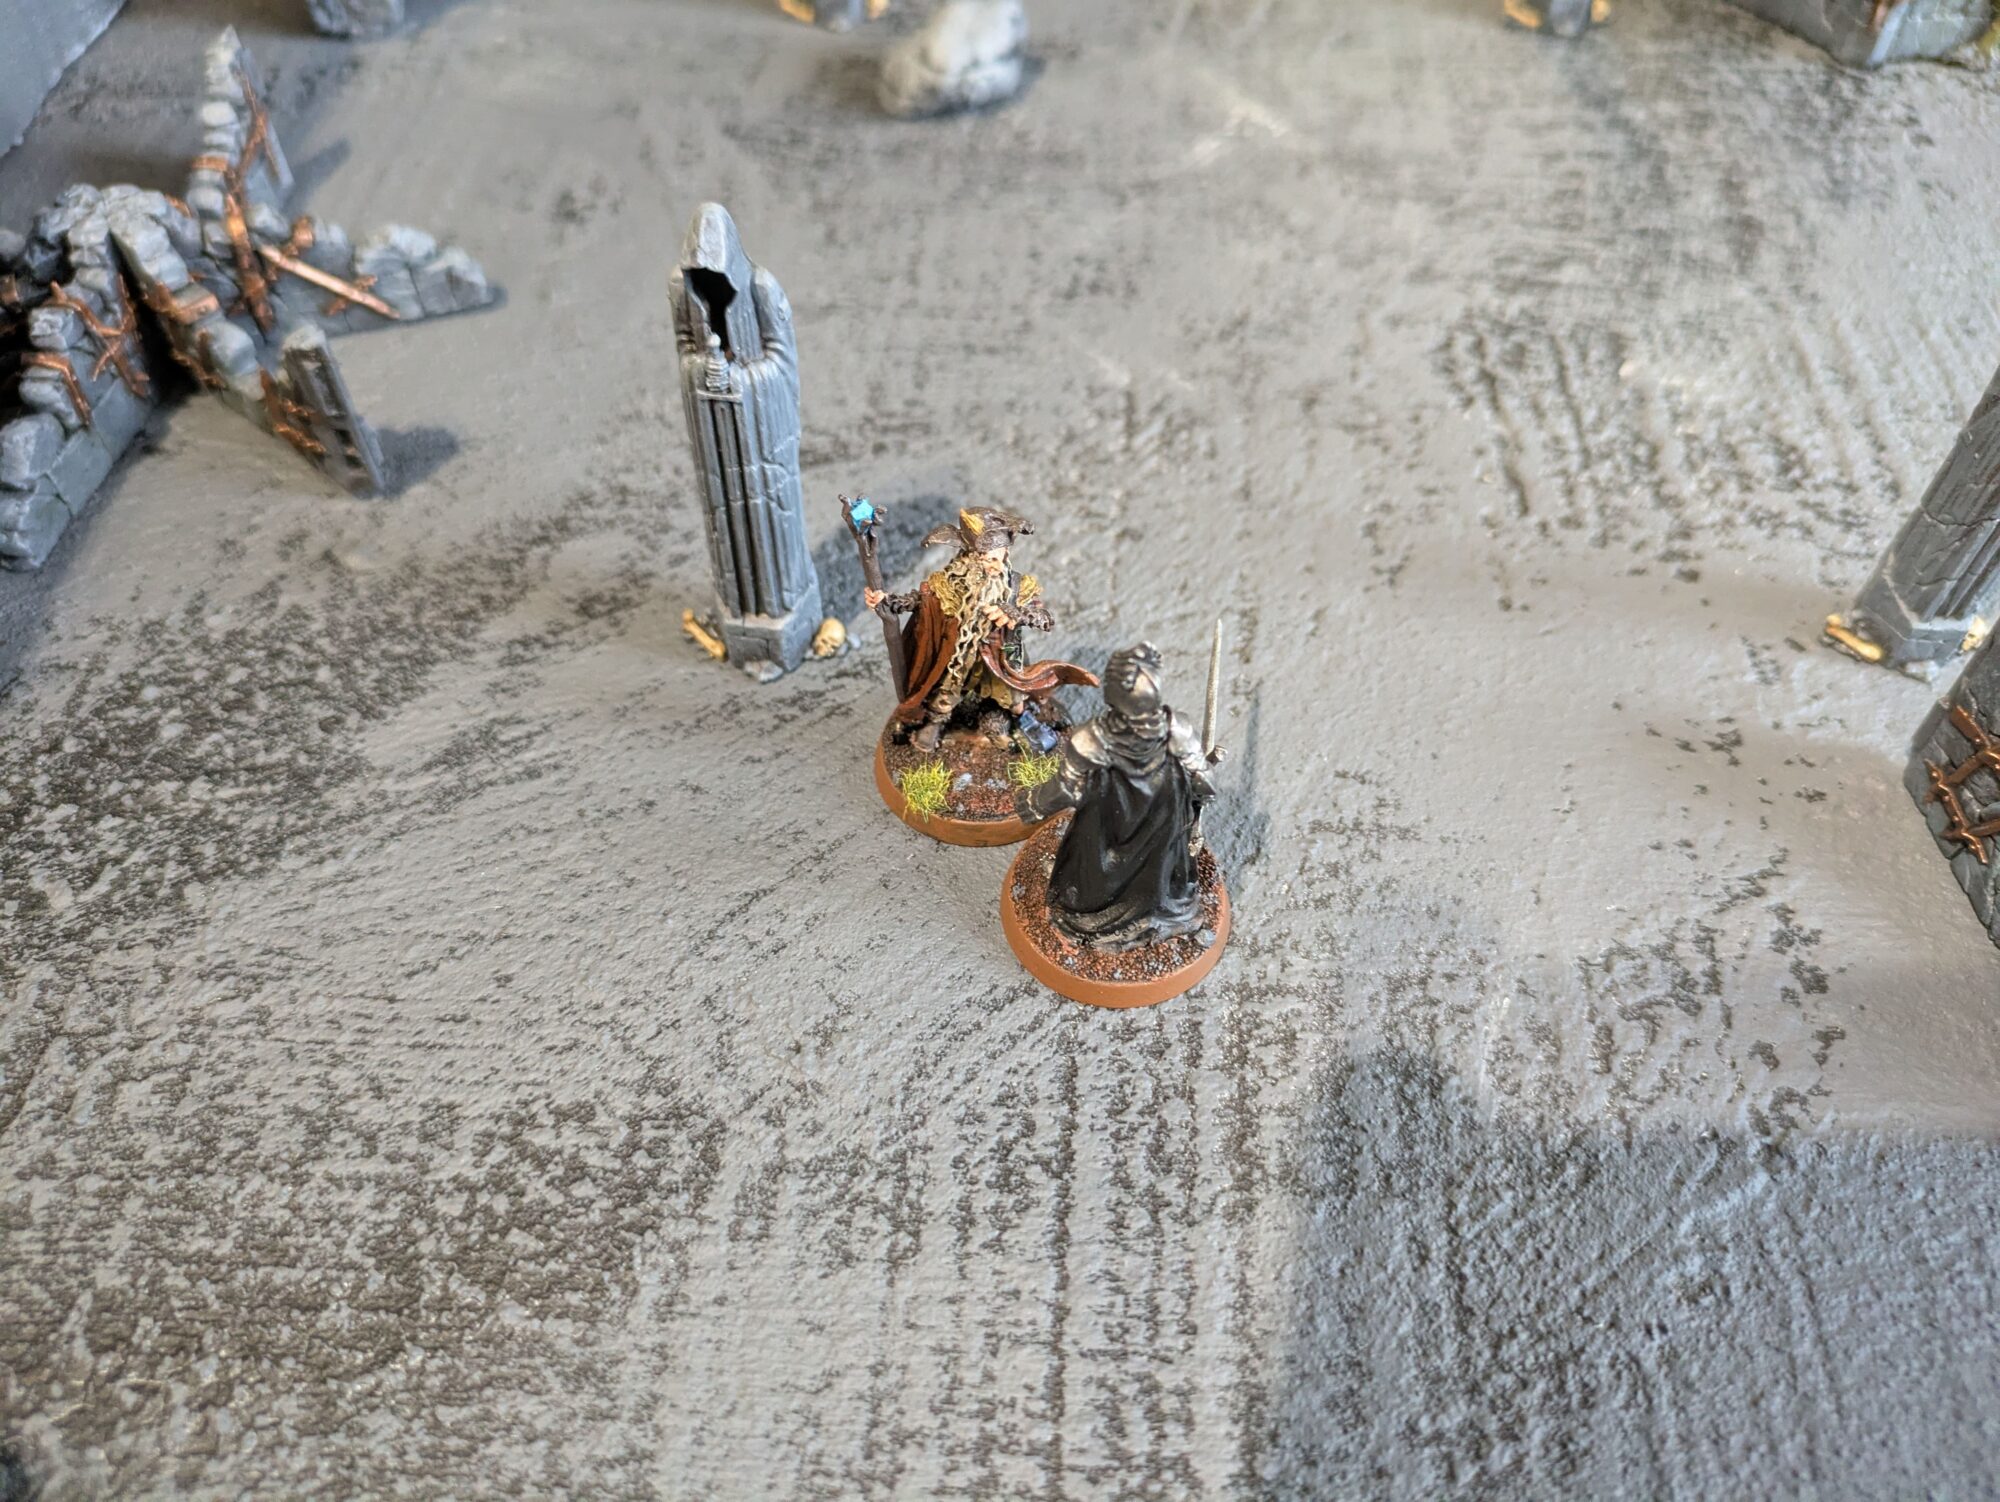
1G. -> Good begins. Radagast rolls a 6 to investigate, immediately uncovering the evidence! This means the Witch-king is spawned 3″ from the statue he was hiding in (#3).
From this point on, every turn is simply a combat between Radagast and the Witch-king. Radagast has 3 Attacks (one of them being Sebastian), while the Witch-king has 2 Attacks. With 3 Wounds and 3 Fate, Radagast plays defensively and lets the Witch-king win combats if that means saving Might. The Witch-king will just respawn after all, so the Might is better saved for Heroic Moves, especially once the Witch-king is out of Might.
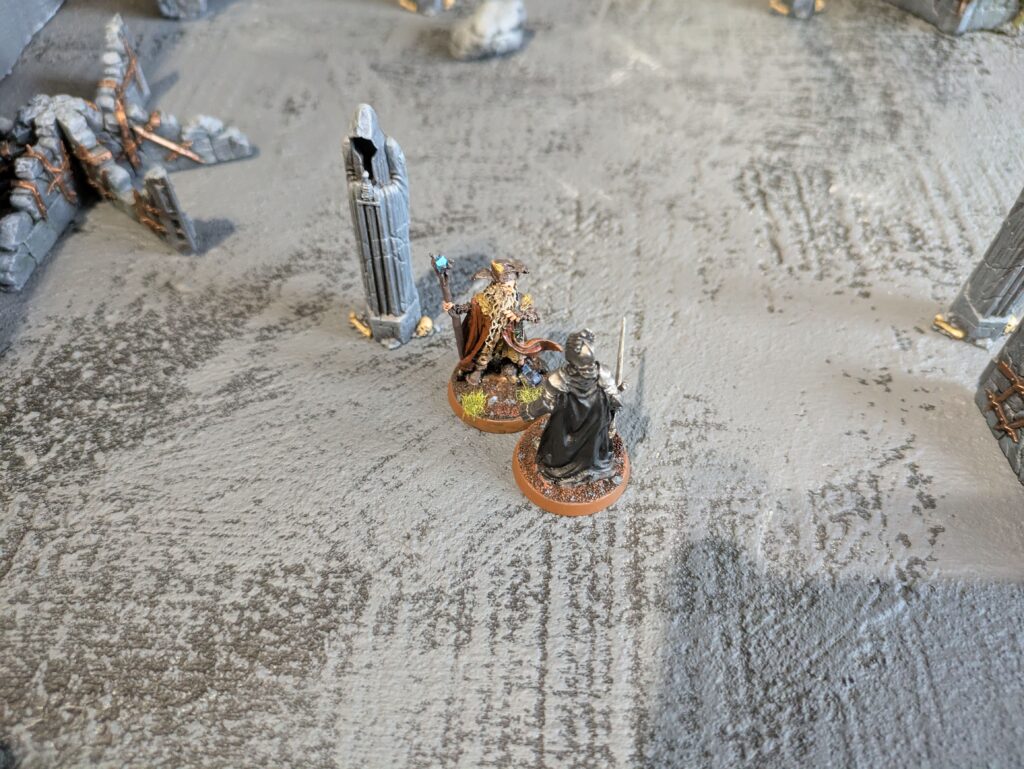
And so a large number of turns pass. The Witch-king often fails to wound despite winning quite a number of fights and he gets killed in return a number of times. The inevitable conclusion is that Radagast eventually gets too far ahead and the Witch-king respawns too far away. Radagast successfully gets off the board with the evidence.
Aftermath
Victory for Good. This means that in the scenario: Make Haste to Dol Guldur, Radagast rolls a D6 after a Giant Spider successfully webs him. On a 6, the web misses.
Post-game thoughts
While I liked the theme and the fact that this a smaller scale scenario, I don’t think it really works. It felt a bite tiresome to just keep rolling for the same combat over and over. It would have been more exciting if Radagast didn’t have his full M/W/F and Wounds. Perhaps if this campaign would have similar rules as in Quest of the Ringbearer and you got a battered up version of Radagast after the previous horrendous scenario, this would have been a tenser game.
If Radagast only managed to find the evidence on the statues that were further away, that too might have made it harder for him. But that wouldn’t necessarily redeem the scenario for me. Because it would still be the same scenario and it would play out in the same way, the Witch-king would just get a bit more combats to kill Radagast. Without completely reworking the scenario, I think the best solution would be to play it campaign style where the M/W/F/ and Wounds don’t automatically fully recover. That would make it more interesting for Radagast how to spend those scarce resources.
In the next scenario, Gandalf investigates the dungeons of Dol Guldur, finding Thrain, father of Thorin.
This is an interesting follow-up to the previous scenario. Radagast certainly redeemed himself though I agree that this seems like a bit dull of a scenario. Having never-ending 1 v. 1 combat doesn’t seem like a recipe for success in MESBG. I’ll be curious to see how the one with Gandalf goes. Hopefully it avoids this problem!